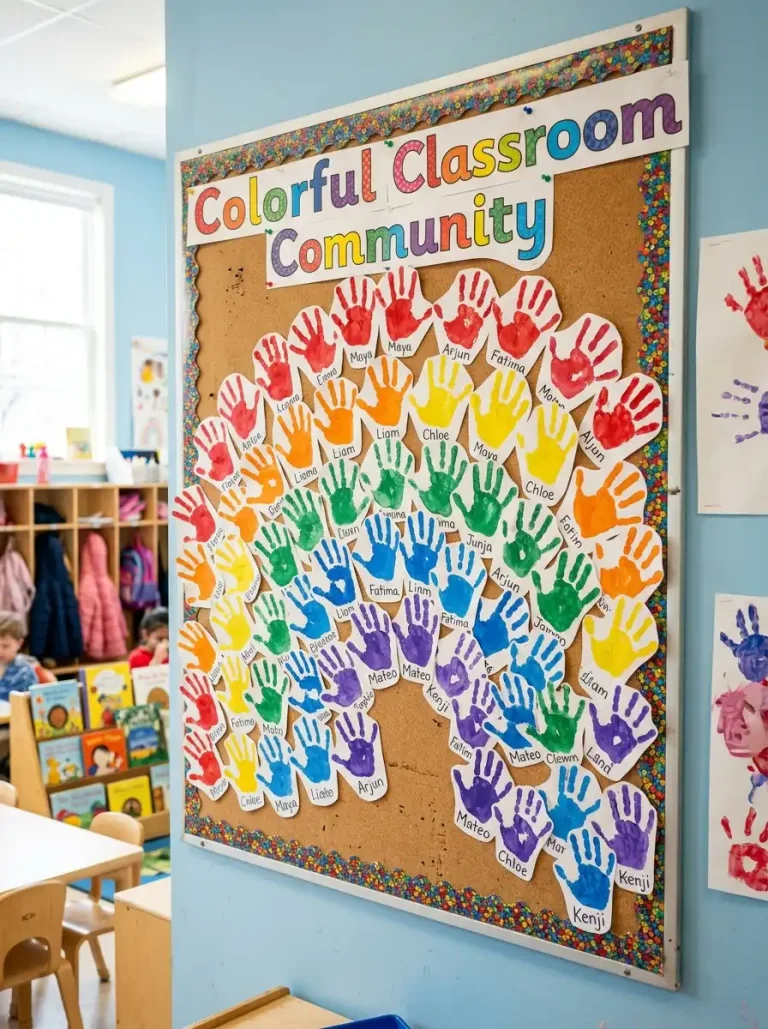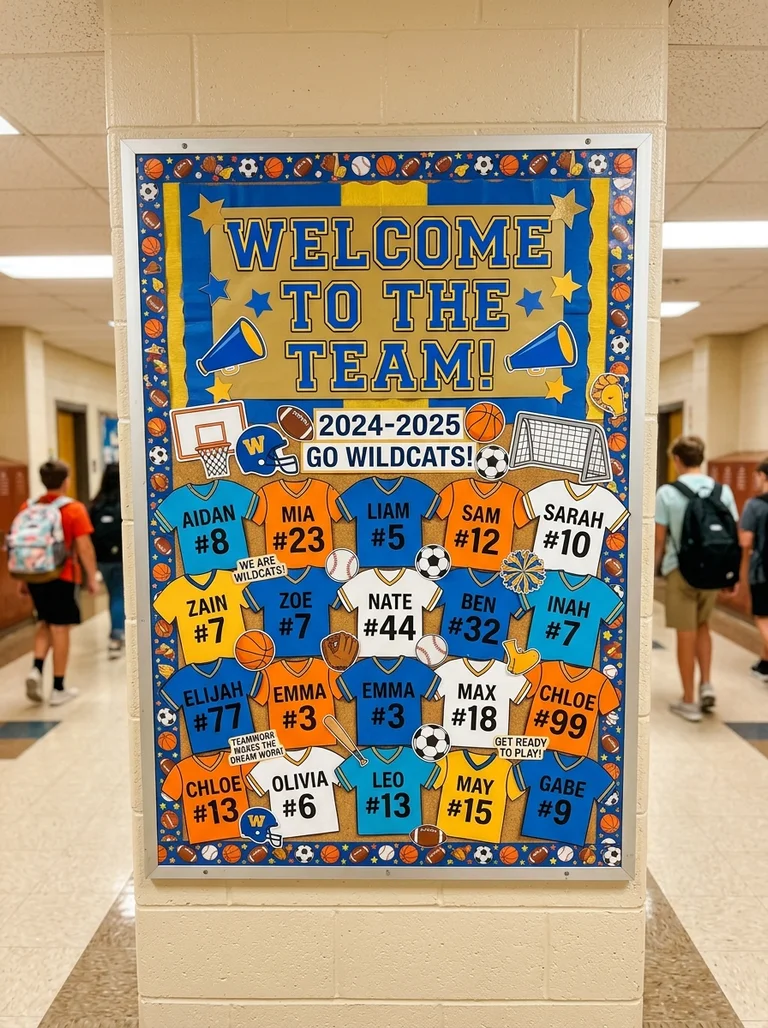
14 Welcome Back to School Bulletin Board Decoration Ideas
Welcome back to school is the perfect time to create a warm, inviting, and visually stunning bulletin board that sets the tone for the entire year. Below are 14 decoration ideas and techniques to make your welcome back bulletin board stand out, along with theme suggestions that are separate from the decoration techniques.
1. Layered 3D Elements
Add depth to your bulletin board by using layered 3D elements. This technique makes your board pop and captures students’ attention.
Use foam tape or folded paper to lift elements off the board. Create 3D flowers, stars, or clouds by layering multiple cutouts. Add 3D letters for your welcome banner. This works especially well for garden, rainbow, or superhero themes.
QUICK TIPS
- Use foam tape for easy lifting.
- Layer different sizes for more depth.
- Attach elements securely to prevent falling.

2. Fabric and Ribbon Borders
Replace traditional paper borders with fabric, ribbon, or trim. This adds texture and a polished, professional look.
Use colorful fabric strips, burlap, or ribbon along the edges. Create a scalloped or ruffled border. Tie small bows or knots for extra detail. This works especially well for rustic, garden, or rainbow themes.
QUICK TIPS
- Use a hot glue gun for secure attachment.
- Choose fabrics that complement your theme.
- Add small embellishments like buttons or beads.
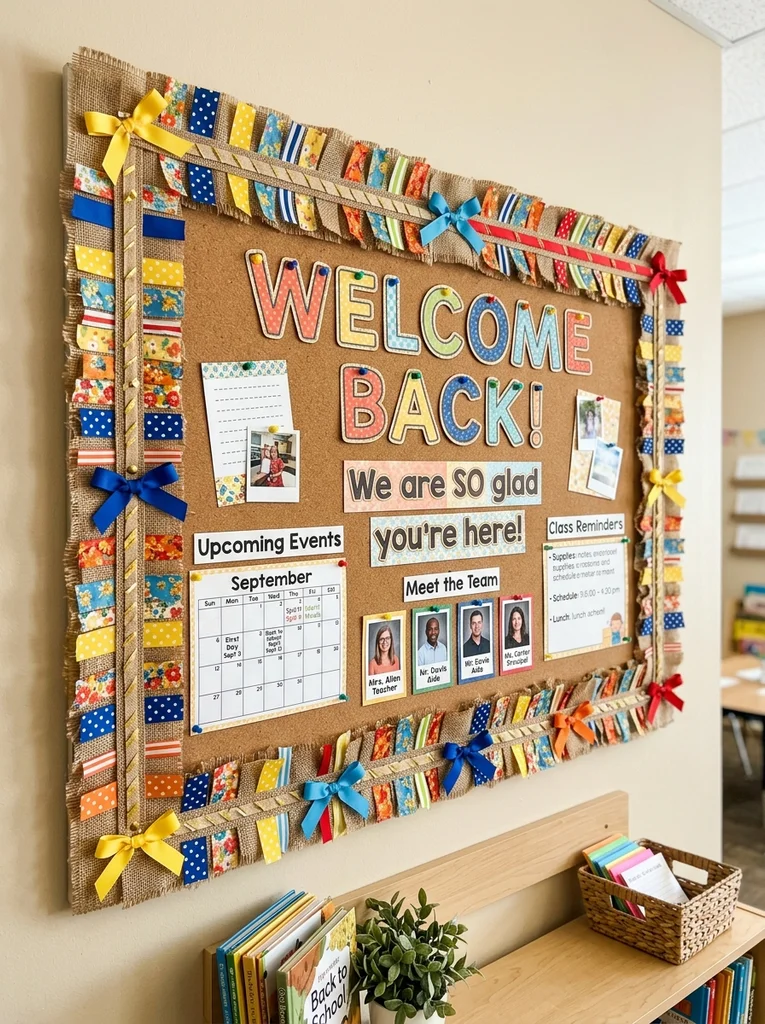
3. Student Photos and Names
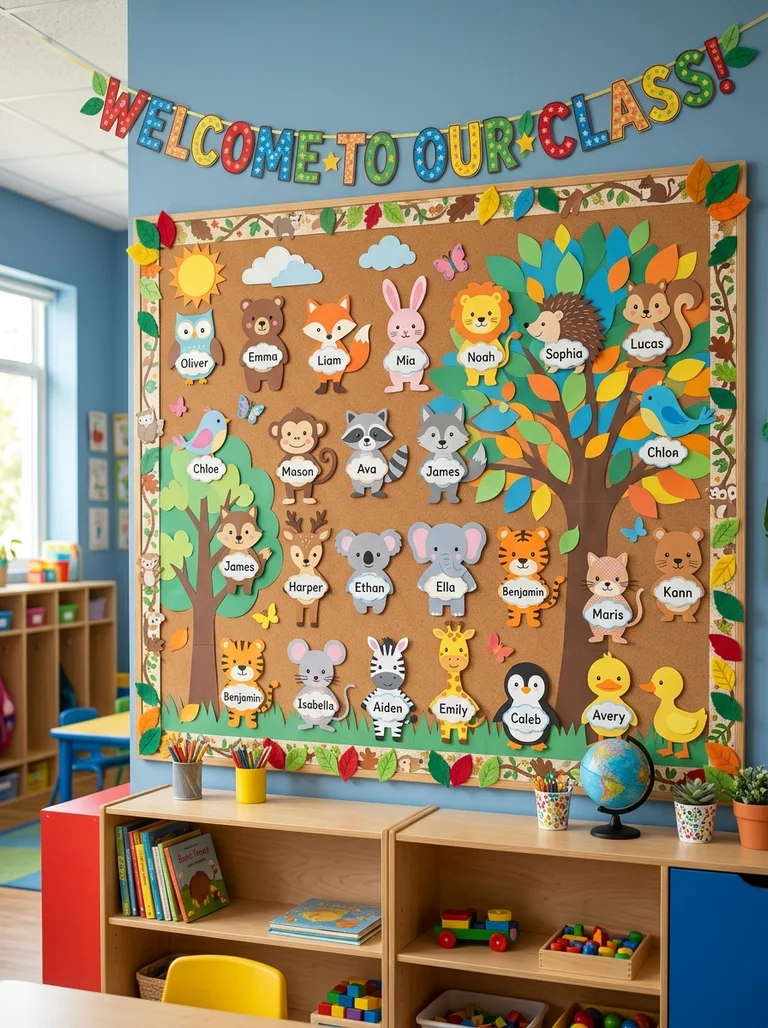
Personalize your board by including student photos or names. This helps students feel seen and welcomed from day one.
Use photo frames, name tags, or cutouts with student names. Arrange them in a pattern or around the board. Add a “welcome” message to make it personal. This works especially well for family, community, or puzzle themes.
QUICK TIPS
- Take photos on the first day for quick addition.
- Use name tags for easy identification.
- Arrange names alphabetically or in a pattern.

4. Interactive Elements
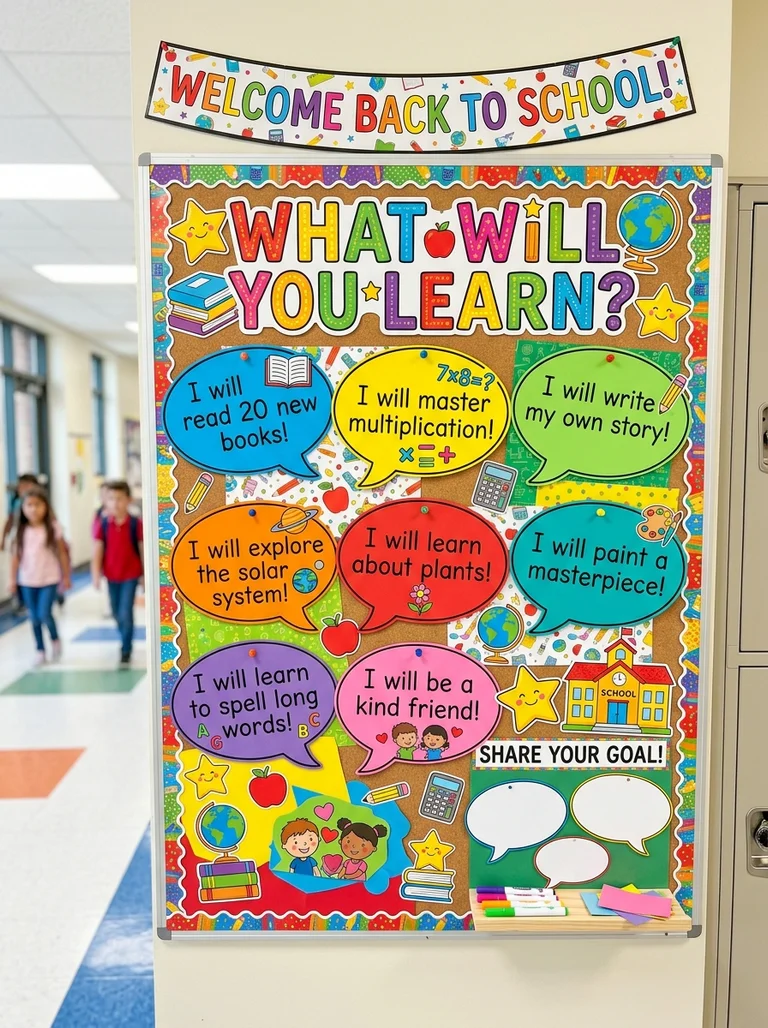
Make your board interactive by adding elements students can touch, move, or respond to. This builds engagement from the start.
Add a “What I Did This Summer” section with paper for responses. Include a “I’m Excited to Learn” section with speech bubbles. Use Velcro for movable pieces. This works especially well for goal-setting, adventure, or learning themes.
QUICK TIPS
- Use Velcro or magnets for movable pieces.
- Provide markers or sticky notes for responses.
- Update interactive sections regularly.

5. Scalloped or Patterned Edges
Create a polished look with scalloped or patterned edges. This simple technique adds visual interest and frames your board beautifully.
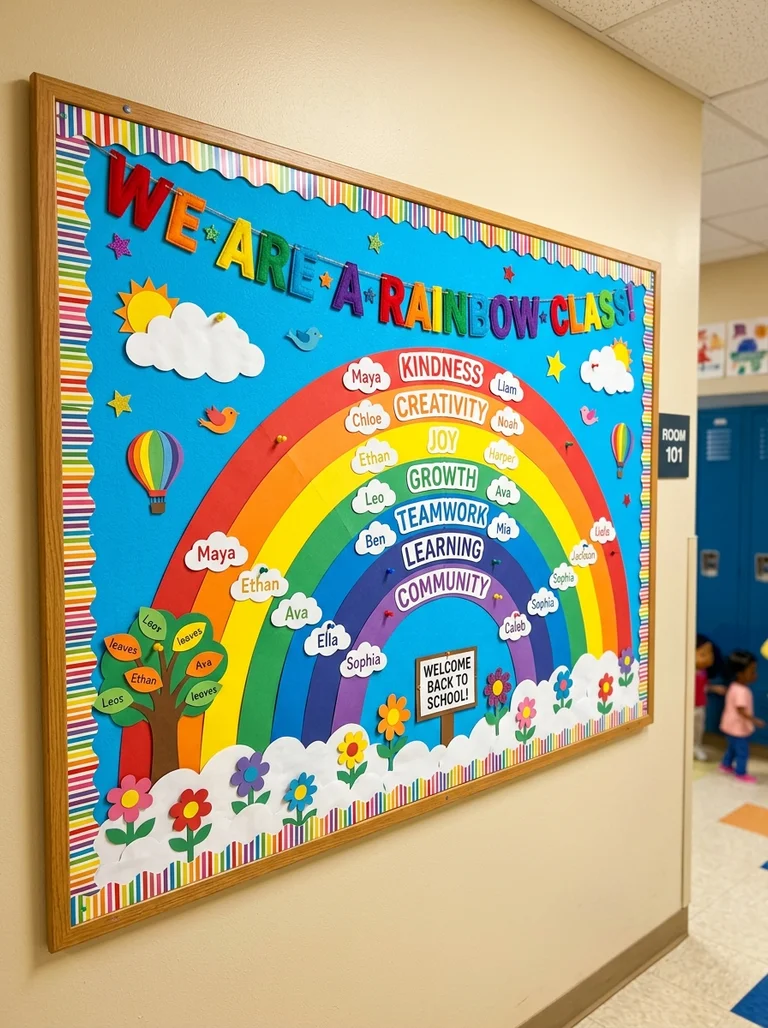
Use a scalloped edge punch or cut paper into curved shapes. Layer different colors or patterns for a border. This works especially well for rainbow, garden, or book themes.
QUICK TIPS
- Use a paper punch for quick scalloped edges.
- Layer different colors for a rainbow effect.
- Match patterns to your theme.

6. Chalkboard or Whiteboard Sections
Add a chalkboard or whiteboard section to your bulletin board for daily updates and messages. This makes your board functional as well as decorative.
Use chalkboard contact paper or a small whiteboard. Write daily messages, announcements, or a “question of the day.” This works especially well for any theme where you want to add daily interaction.
QUICK TIPS
- Use chalk markers for a clean look.
- Update daily with a new message.
- Place in a central, easy-to-see location.

7. Paper Fan and Rosette Accents
Add paper fans and rosettes for a festive, celebratory look. These are easy to make and add visual interest.
Fold paper into accordion fans. Create rosettes by layering folded paper circles. Use them as accents around your board. This works especially well for celebration, rainbow, or party themes.
QUICK TIPS
- Use bright, coordinating colors.
- Attach securely with tape or glue.
- Layer fans of different sizes for depth.
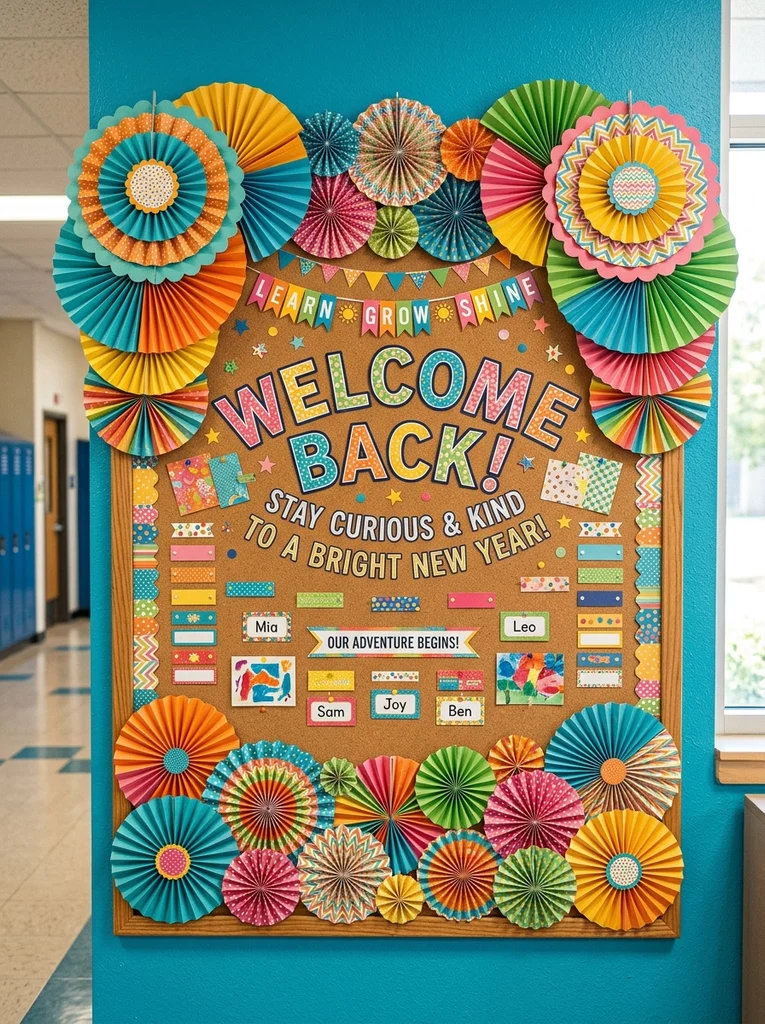
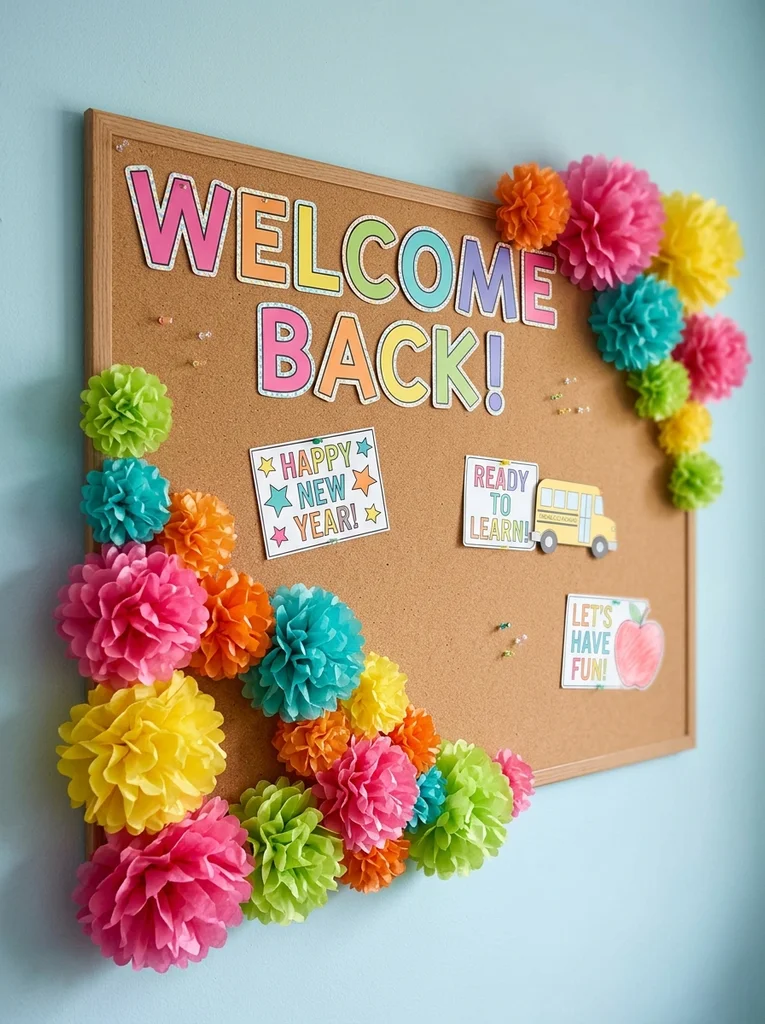
8. Tissue Paper Pom-Poms
Tissue paper pom-poms add a fluffy, colorful, and three-dimensional element to your board. They’re eye-catching and fun.
Create pom-poms by layering and fluffing tissue paper. Attach them to the board in clusters or around the edges. This works especially well for rainbow, celebration, or garden themes.
QUICK TIPS
- Use coordinating colors for your theme.
- Make them in various sizes for depth.
- Attach with pins or tape.
9. Thematic Cutouts and Silhouettes
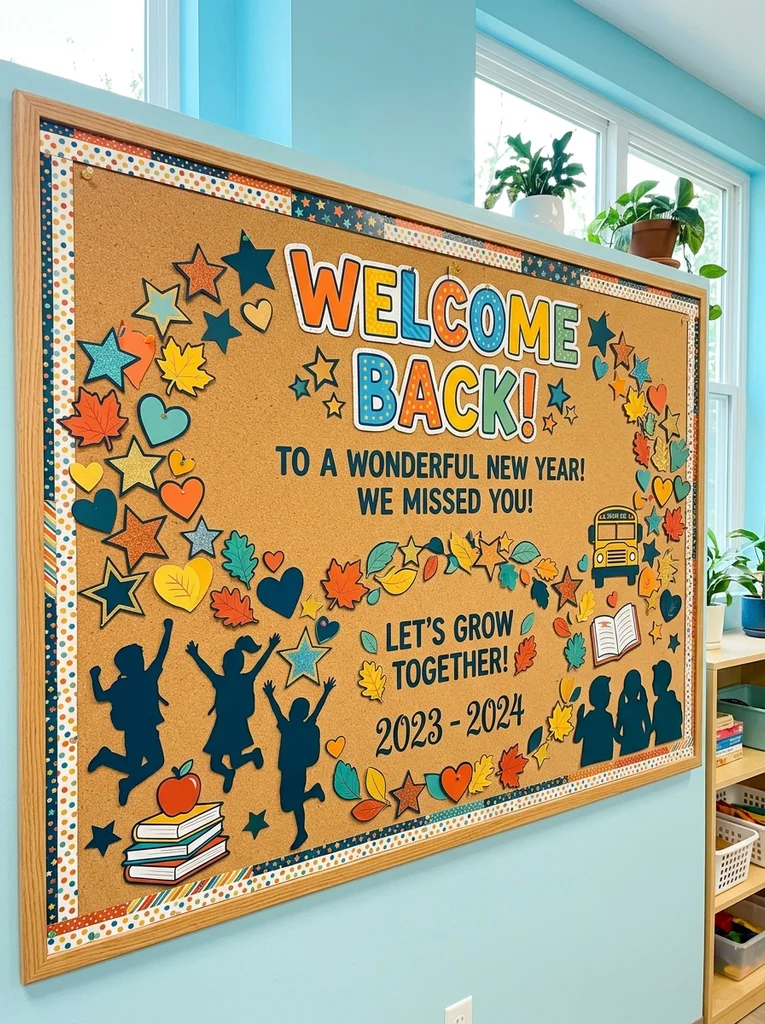
Use themed cutouts and silhouettes to create a cohesive and visually engaging board. This is the most common and effective decoration technique.
Choose shapes that match your theme—stars, hearts, leaves, or animals. Use large and small cutouts for depth. Arrange them in patterns or around the board. This works especially well for any theme.
QUICK TIPS
- Use a die-cut machine for consistent shapes.
- Arrange cutouts in a pattern or border.
- Use contrasting colors for visibility.
10. Borders with Thematic Details
Create a border that reflects your theme. This frames your board and adds cohesive visual interest.
Use scalloped or straight borders with thematic details. Add small themed cutouts along the border. This works especially well for garden, animal, or school supply themes.
QUICK TIPS
- Layer two borders for depth.
- Add themed cutouts every few inches.
- Match border colors to your theme.

11. Hanging Elements
Add hanging elements that extend from the top of the board. This creates a mobile-like effect and adds vertical interest.
Attach string or ribbon to the top of the board. Hang themed cutouts, pom-poms, or paper lanterns. This works especially well for adventure, space, or rainbow themes.
QUICK TIPS
- Use fishing line for a clean look.
- Hang elements at varying lengths.
- Ensure they don’t block the board’s content.

12. Photo or Artifact Display
Display photos or artifacts from the previous year or from students’ lives. This builds connection and community.
Add a “Memory Lane” section with photos from last year. Include an “About Me” section with student artifacts. This works especially well for family, community, or reflection themes.
QUICK TIPS
- Use photos from the previous year.
- Let students bring in an artifact for display.
- Add a “Class History” section.

13. Layered Washi Tape Accents
Washi tape is easy to use and adds colorful, patterned accents to your board. It’s perfect for creating borders, lines, and small decorations.
Use washi tape to create borders, dividers, or small patterns. Layer different tapes for a collage effect. This works especially well for rainbow, book, or school supply themes.
QUICK TIPS
- Use coordinating colors and patterns.
- Layer tapes for a scrapbook effect.
- Attach to paper or directly to the board.
14. Spotlight Sections
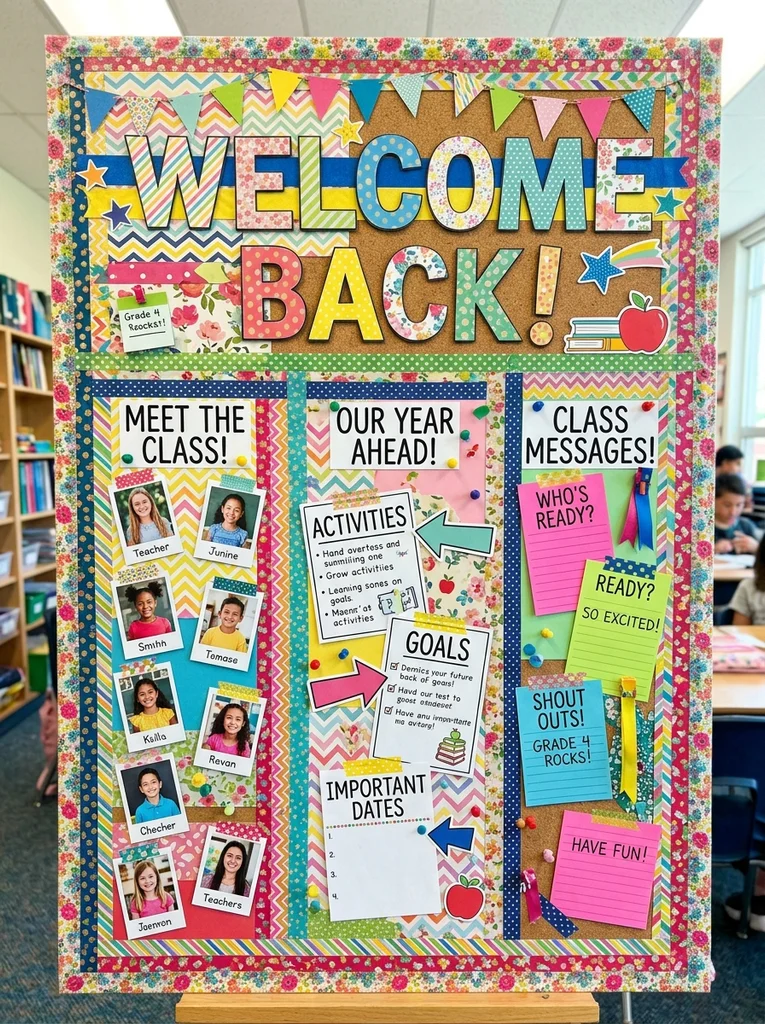
Add a “spotlight” section to feature students, teachers, or daily highlights. This creates a dynamic and evolving board.
Create a “Student of the Week” or “Teacher Spotlight” section. Use a bold color or frame to draw attention. Update regularly. This works especially well for any theme where you want to feature individuals.
QUICK TIPS
- Use a bold background for visibility.
- Update weekly with new spotlights.
- Add a brief description or photo.

Final Thoughts
Welcome back bulletin board decorations should be warm, inviting, and visually engaging. Whether you use layered 3D elements, fabric borders, interactive sections, or hanging decorations, these techniques will help you create a board that makes students feel welcome and excited for the new school year. Plan your board ahead, use coordinating colors and themes, and keep the display fresh by updating elements as the year progresses. Your welcome back bulletin board can become a hub of community, learning, and excitement for all students.